
While I played using the “theatre of the mind” for many years, I have always been a visual person and with the advent of pre-painted miniatures and, more importantly, singles at very affordable prices, I have moved increasingly toward using map tiles and miniatures where possible.
Even with a pretty good selection of miniatures covering a wide range of genres though, I still run into the problem of finding the right figures for a particular adventure. This problem arose most recently when I ran Dead Horse Corner, a World War I adventure for Trail of Cthulhu from Dulce Et Decorum Est. I had some Russian figures from the Pathfinder Battles Reign of Winter Set, but the adventure focuses on British soldiers on the German front. I did use the ones wearing gas masks, but did not have British soldiers that would work.
Rather than find some 28mm figures and paint them for this one adventure, I decided to create figure flats to fill in the gaps.
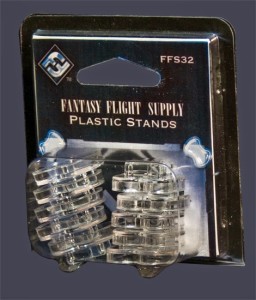
I’ve tried out a wide variety of styles of figure flats going back to my early days of gaming. The triangle fold used to be very popular, but recently Pathfinder and Warhammer Fantasy Roleplay 3rd Edition introduced the format that I now prefer for my figure flats – a two-sided cardboard piece on a clear plastic stand. Here’s what they look like:
Personally, I prefer the WFRP ones. You don’t have to buy the whole game though, you can buy the stands themselves from Fantasy Flight here.
Making your own Figure Flats
Step 1 – Get a template: For the figures themselves, I created a blank template using the shape of the store-bought figure flats (which you can find here). It’s not perfect, but it does the job.
Step 2 – Find Images: I search for images on the internet (Google Image Search is your friend – learn how to use the advanced search and you can find incredible images). Sometimes, I buy them through Drivethrurpg if there’s a particular set that works for the game I’m running. For example, when I ran Weird Wars – Rome, I picked up some Roman figures and then make my own flats using this process.
Step 3 – Insert Images on to template: I cut and paste the images on to the template using the Mac OS Pages program to insert the pictures and lay them out. Sometimes I have to crop an image or do some minor editing. If you have a fancier desktop publishing program, it might even be easier for you. I just like to keep things simple.
Step 4 – Print: Print your Sheet on to normal paper. I have a colour printer that is handy for this purpose. But, in some cases, black and white images are actually preferable, such as a period piece.
Step 5 – Glue them: I glue my images on to cardboard. You might have to experiment a little with the type of cardboard you have to get the right thickness. I tried cardboard from boxes and it worked in one layer, but it tends to squish around the stand, becoming loose over time and the side profile is noticeably cardboard. Instead, I now use cardboard from the backing on pads of paper. I found that two pieces glued together formed the perfect thickness. If you find that your paper is peeling off too much, try getting a good strong paper glue, like Elmer’s X-treme Glue.
Step 6 – Cut them out: I cut out the pieces and they’re ready to be placed in the stands. I could cut the edges of the tombstone to make them look even better, but that’ll depend on whether I have the time or not.
Putting it into Practice
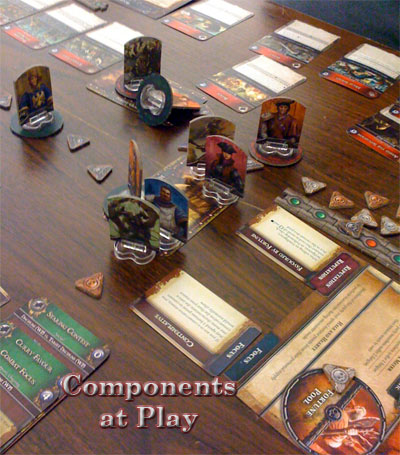
Back to the World War I game, Dead Horse Corner, I put together figures for the player characters and the NPCs. Here’s how it worked at the table:
This first picture features a number of the PCs leaving their trenches to explore a tunnel that was being built deep into no man’s land (that uncovered an ancient temple of some kind – I altered the adventure a fair bit to add that in). You can see the figures have a picture of the character on the front and their name on the back. These were made using cardboard from boxes. I tried to conceal it by using black marker on the sides.
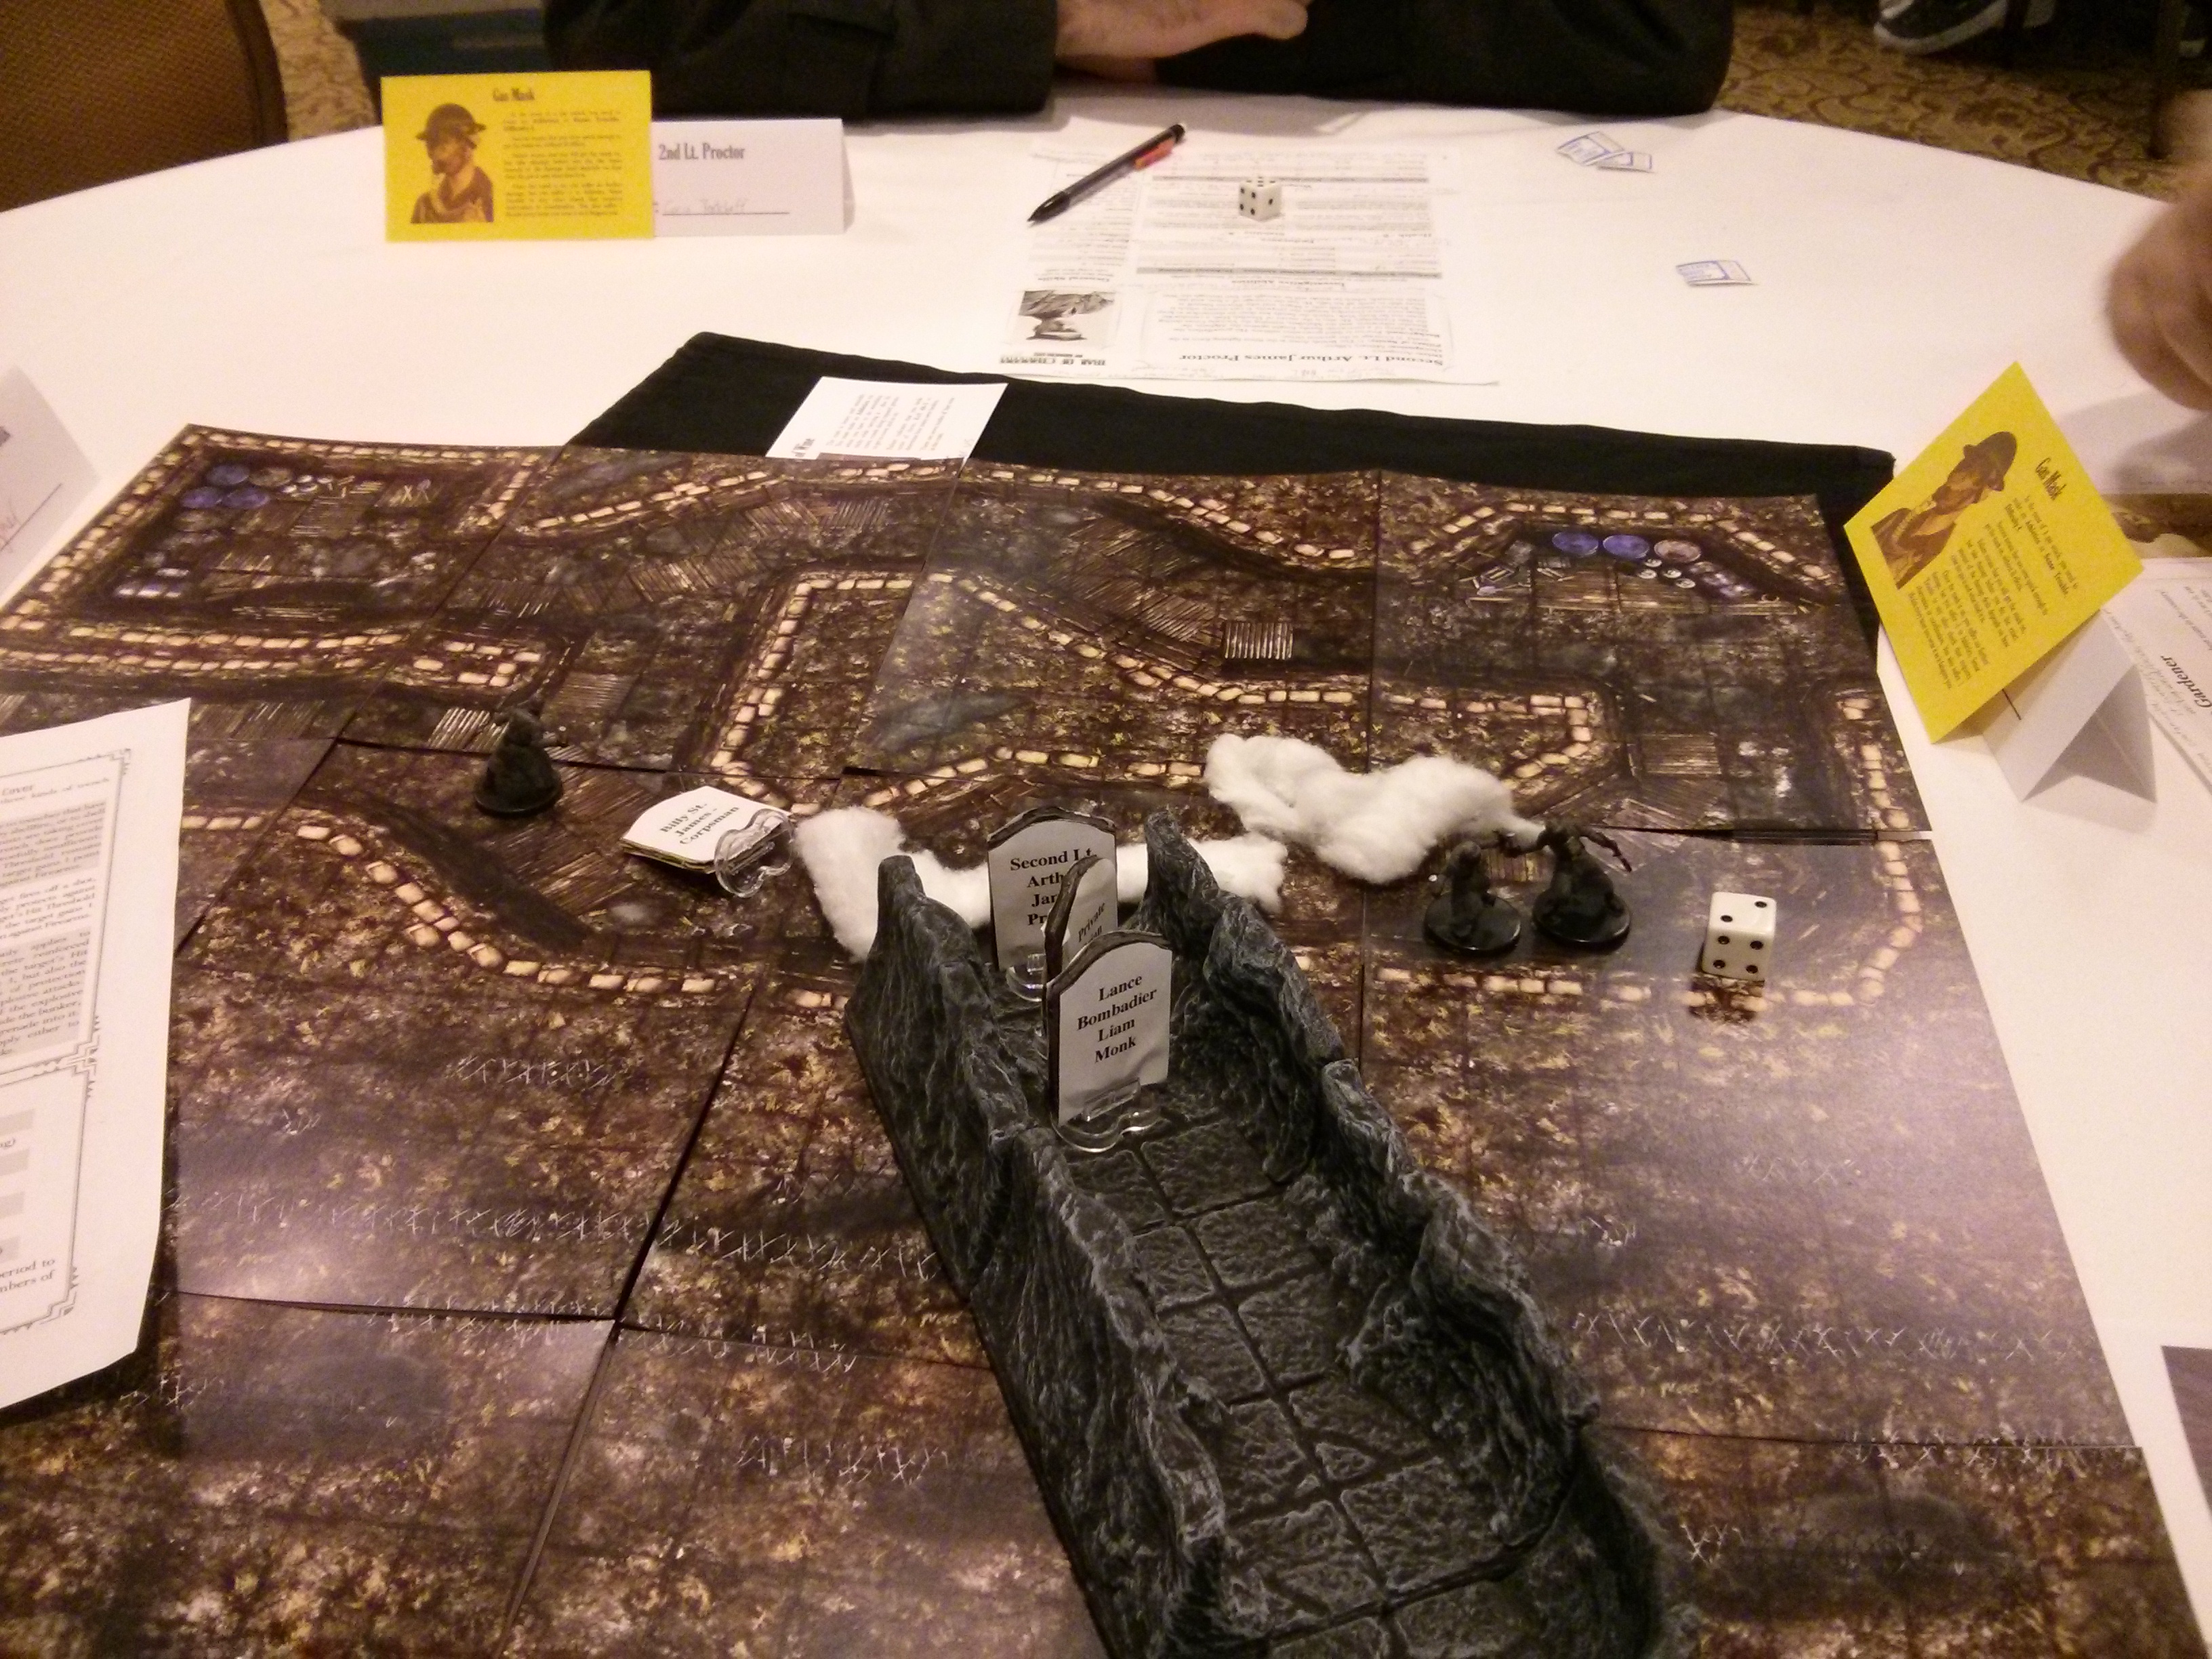
This one shows the PCs returning from the tunnel to find a gas attack (cotton balls) and German troops investigating the trench in gas masks. This shows how they look with miniatures. Unfortunately, the picture caught them from the back, but they work fairly well together.
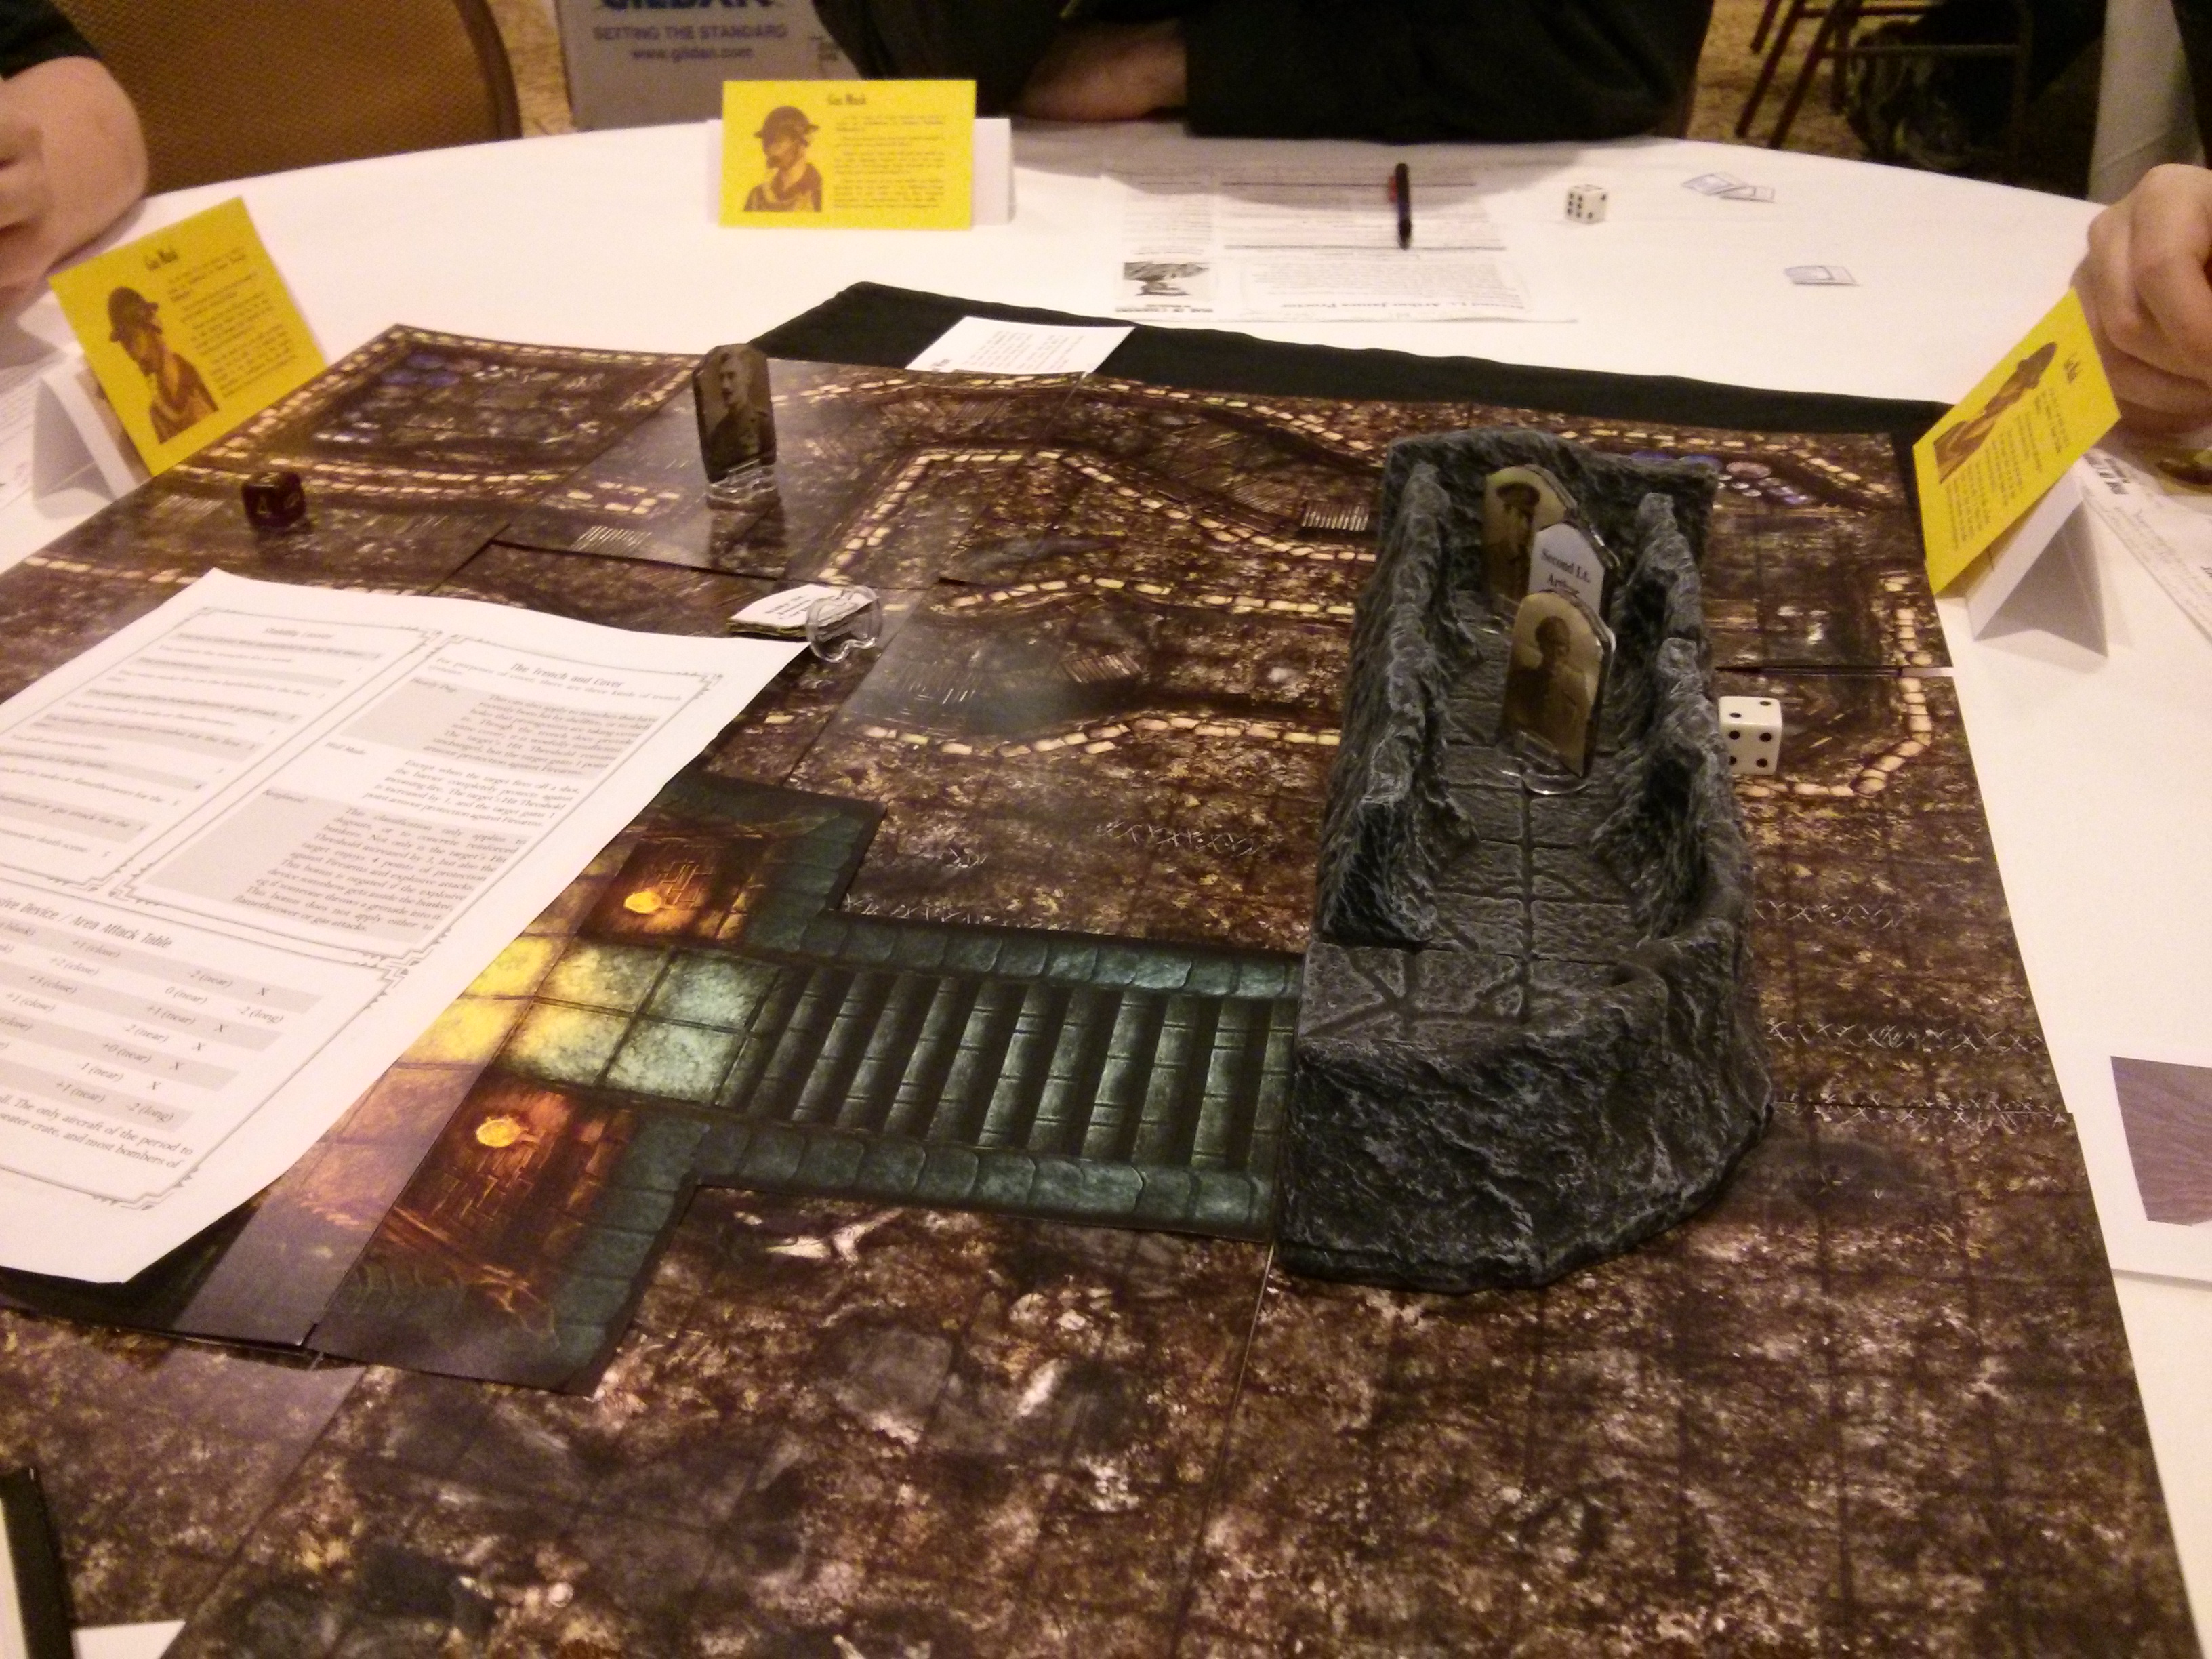
Finally, we have the heroes confronting a monstrous terror (actually a dollar store dragon) in the big finale scene. This one shows best the front faces of the heroes’ figures. You can also see in the background the same image is on the character sheets and if they didn’t have their gas mask cards up, you would see the name cards all feature the same image as well. This creates a strong sense of identity for players with their characters that is only possible through making figure flats like this.
Is there a reason you like the stands vs. a flat character token? I’m with you but I keep looking at spell effect templates and realizing that they’d work so much better if I could just lay them down over top of the mat instead of holding it up high or struggling to slip them under the minis. All of those are good reasons… but not nearly as satisfying as a mini or standee.
I have tried flat tokens in the past, but I would have to say that I like the three-dimensional aspect of a standing figure. The spell/blast effect templates are easier to place over flat tokens, but I don’t actually use such templates that often. As you say, it’s just not as satisfying.
I tend to use standies and minis for player characters, while monsters and NPCs are tokens. That way the focus is on the player characters, and there’s never any confusion as to what is who.
That’s one way to differentiate the two. Sometimes though, I really like a big mini or even standup to be intimidating at the table. The players gasp a little as the big figure comes out and you can see the worry in their eyes.