3D Terrain that is 70% off…

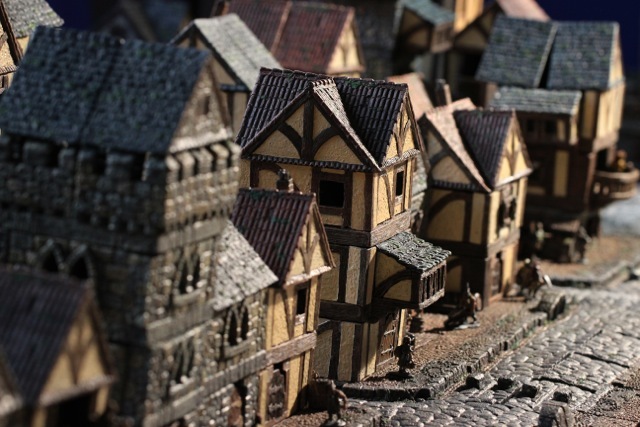
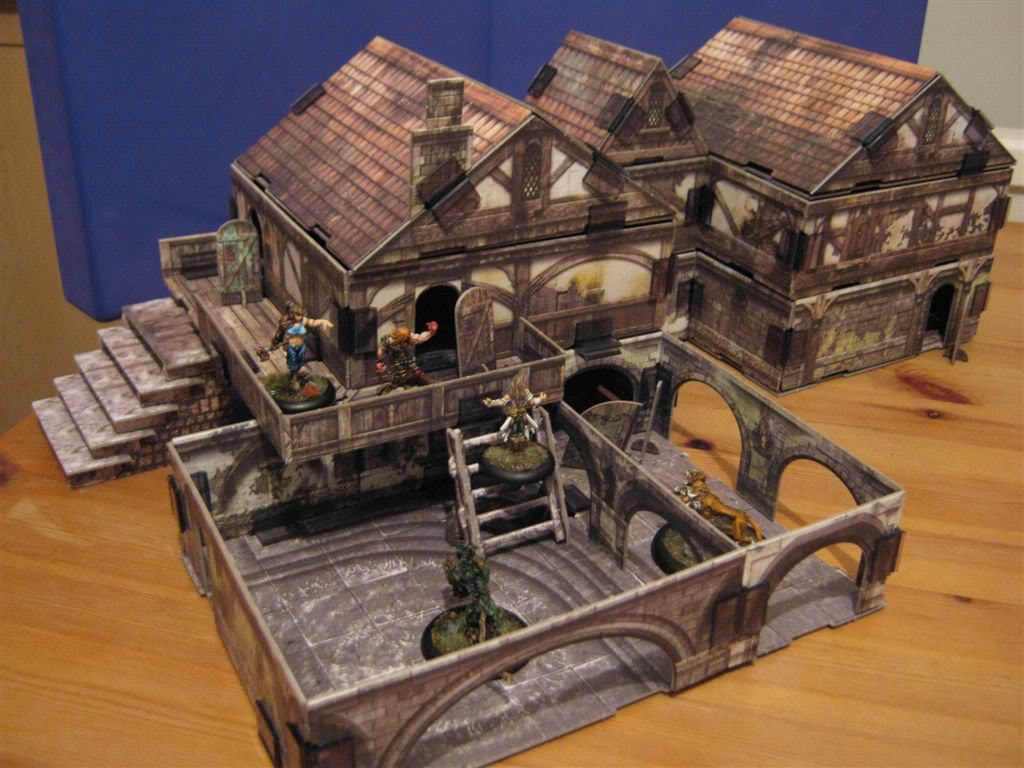
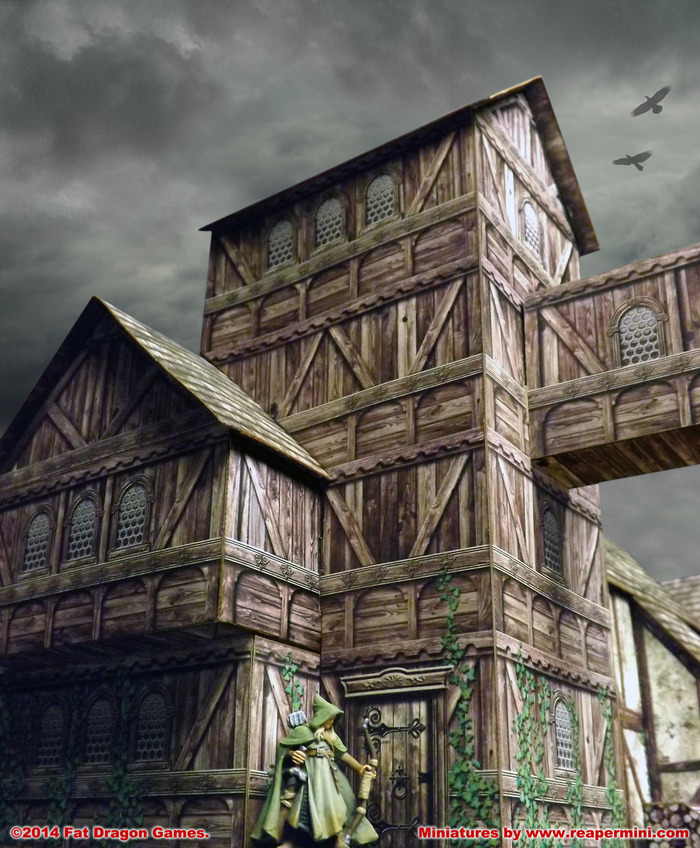
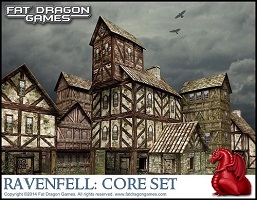
Ravenfell1If you know me, you know that I like 3D terrain, especially when the price is low and the awesome is high.  For the next day, the Ravenfell Core Set is 70% off (just $4.49).  To be honest, I think it’s still a great deal at full price, though.  The cool thing about Fat Dragon terrain is that you can print it out over and over, making your terrain as big and awesome as you’d like.

Continue reading “3D Terrain that is 70% off…”

3D Fantasy City Buildings – Comparing Your Options

Dwarven Forge’s City Builder Kickstarter just launched. It looks awesome and as someone who has already invested heavily in Dwarven Forge dungeons and caves and I’ve already pledged. But, the high cost is giving me second thoughts.

To help calm my worries, I will review four different types of terrain that I own and use to decide whether this kickstarter really is worth it for me (for Dwarven Forge, I’ll use their caves and dungeons as reference points). I’ll review the four types of terrain over seven factors – aesthetics, customization, durability, storage, construction time, game set up time and cost and hopefully discover which ones might work for you (and me).


The Products

Dwarven Forge’s (DF) City Builder consists of fully modular, 25mm scale, hand-crafted terrain made of nearly indestructible materials. They can be ordered fully painted, which is what I am considering in this review. 

bba70493eb8a8a47155cf317bab531d5_large

Fat Dragon’s (FD) Ravenfall Village is modular 28mm scale village buildings made of separate, stackable components, which can be mixed and matched between models for even greater variety, and folded flat for easy storage. They are delivered in a downloadable PDF format and once you have the set you can print and build as many pieces as you like and never run out or need to purchase more. Additionally,  graphic layer options allow you to customize your building to suit your tastes. This set was kickstarted, which I participated in.

53b4ed10abc287c58815c71813120132_large

Renaissance Miniature’s (RM) Medieval Village sets are 28mm scale pre-painted plywood kits that you glue together with simple woodworking adhesive. They are cut using large, state-of-the-art laser cutter for precision cuts – so  kit fit together perfectly every time. This set was also kickstarted, which I also participated in.

7d81c1a6d11607b47453790e7c1c3fac_large

WorldWorks (WW) Terraclips Buildings of Malifaux is a modular 3D terrain system made from 1.7mm thick, high-density punchboard with die-cut components, which clip together using the TerraClips connector system.

IMG_2258


Aesthetics

DF has the right thickness and look for medieval buildings, though it doesn’t always fit together very closely, so gets a 4/5 for how it looks on the game table. FD looks beautiful, but doesn’t feel thick and strong, so gets a 3/5. RM looks perfect for wooden buildings (appropriately enough) but doesn’t work as well for stone work. The interiors are also quite dull and plain. It gets a 2/5 for aesthetics. WW look very nice, are thicker than normal paper, have great atmospheric images inside and out, but the clips are extremely noticeable and I’ll have to dock them a point for that for a 3/5.

Customization

It is still early in the campaign, but looking at the pictures of what will be coming available, it looks like there is a fair bit of customization of the walls, roofs, windows, etc. possible for the DF tiles. I’ll give them a 4/5 for ability to customize the building to your needs. FD allows a great deal of customization of the look of the buildings, but not necessarily the size or layout, so only gets a 3/5. RM cannot be altered without some skill and ability, so gets a 1/5. You can make a variety of different buildings using WW, but ultimately, you can have a worn down building or a worn down building. I’ll give them a 3/5.

Durability

DF gets a 5/5 here as their pieces can be driven over with a car. Can’t beat that. I would give FD’s paper sets a 2/5 as they will hold up to some wear (assuming you print them on 100 lb card stock). RM’s buildings get a 4/5 as they’re strong, but won’t resist too much rough handling. The WW sets are pretty strong, but you still need to be careful with doorways and when putting the clips in or you’ll mark up the cardboard images, so I’ll give them a 3/5.

Storage

DF gets a 4/5 for being durable enough to be thrown into a drawer or bag for storage, but they still take up a fair amount of space. FD’s sets are foldable, so get a 5/5 for easily being stored flat. RM’s buildings suffer in this respect, as they’re fragile enough to need careful storage and only receive a 2/5 for this factor. The great thing about the WW sets is that you can take it all apart and shove it all in a drawer or container. They get a 5/5 for this factor.

Construction Time

DF requires no construction time when you receive it (unless you’re getting unpainted sets, which I don’t do), so gets a 5/5. FD’s sets require printing, cutting, marking edges and then gluing together and therefore get a 1/5. RM’s buildings require removing pieces carefully, marking edges and then glueing together, but is only slightly faster so gets 2/5. The WW sets require assembly a great deal of assembly to get a building put together and they get a 1/5 for this factor (one of the reasons I am reluctant to use it).

Game Set up Time

DF sets take a fair amount of time to set up as they’re normally 2×2 tiles, but the City Builder sets are 4×4 squares (maybe they heard the feedback?), so they should be faster to set up. Nevertheless, some time to assemble the posts and such will take time at the table, so only get a 2/5 for this factor. I would consider this one of the DF’s biggest weaknesses. FD’s buildings might require some stacking, but are very fast, getting a 4/5. RM’s buildings, once built, are simply put on the table, so get 5/5. Once you have your set ready to go, it can be popped out onto the table with no problem and get a 5/5 for this.

Cost

My own estimates for a single 4×4, two storey building is about $75 for DF, $12 (including printing on cardstock) for FD, $25 for RM and about $35 for WW (including the clips you have to buy separately). So, I’ll give DF a 1/5, even taking into account that you can get the sets a little cheaper right now, FD a 5/5, RM a 3/5 and WW 4/5 for cost.


Overall Totals

Dwarven Forge’s City Builder: 25

Fat Dragon’s Ravenfell Village: 24

Renaissance Miniature’s Medieval Village: 18

WorldWorks Games’ Buildings of Malifaux: 24


Final Thoughts

I hadn’t expected such close scores. If you dig down though, you can make alternate calculations by doubling the factor that matters most to you and see where things fall out.

For example, if you don’t have a lot of money and double the cost point ratings, then Ravenfell and Malifaux buildings come out on top. The real difference between the two for me is that Ravenfell can be customized more and you get more value for your dollar since you can print as many as you want for little extra cost, so I would go for more Ravenfell sets.

Similarly, if you don’t have time to build stuff (like me) and double time to construct point ratings, Dwarven Forge is definitely the terrain to buy, especially during the kickstarter.

Hope this helped you find the right 3D city terrain for your game.
Game Prep – Making Figure Flats for Your Game

While I played using the “theatre of the mind” for many years, I have always been a visual person and with the advent of pre-painted miniatures and, more importantly, singles at very affordable prices, I have moved increasingly toward using map tiles and miniatures  where possible.

Even with a pretty good selection of miniatures covering a wide range of genres though, I still run into the problem of finding the right figures for a particular adventure. This problem arose most recently when I ran Dead Horse Corner, a World War I adventure for Trail of Cthulhu from Dulce Et Decorum Est. I had some Russian figures from the Pathfinder Battles Reign of Winter Set, but the adventure focuses on British soldiers on the German front. I did use the ones wearing gas masks, but did not have British soldiers that would work.

Rather than find some 28mm figures and paint them for this one adventure, I decided to create figure flats to fill in the gaps.

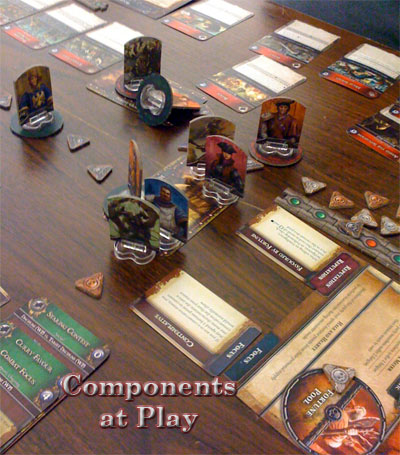
I’ve tried out a wide variety of styles of figure flats going back to my early days of gaming. The triangle fold used to be very popular, but recently Pathfinder and Warhammer Fantasy Roleplay 3rd Edition introduced the format that I now prefer for my figure flats – a two-sided cardboard piece on a clear plastic stand. Here’s what they look like:

pic85183_md

wfrp3

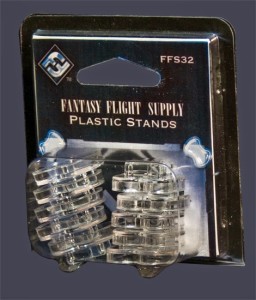
Personally, I prefer the WFRP ones. You don’t have to buy the whole game though, you can buy the stands themselves from Fantasy Flight here.

FFS32

Making your own Figure Flats

Step 1 – Get a template: For the figures themselves, I created a blank template using the shape of the store-bought figure flats (which you can find here). It’s not perfect, but it does the job.

Step 2 – Find Images: I search for images on the internet (Google Image Search is your friend – learn how to use the advanced search and you can find incredible images). Sometimes, I buy them through Drivethrurpg if there’s a particular set that works for the game I’m running. For example, when I ran Weird Wars – Rome, I picked up some Roman figures and then make my own flats using this process.

Step 3 – Insert Images on to template: I cut and paste the images on to the template using the Mac OS Pages program to insert the pictures and lay them out. Sometimes I have to crop an image or do some minor editing. If you have a fancier desktop publishing program, it might even be easier for you. I just like to keep things simple.

Step 4 – Print: Print your Sheet on to normal paper. I have a colour printer that is handy for this purpose. But, in some cases, black and white images are actually preferable, such as a period piece.

Step 5 – Glue them: I glue my images on to cardboard. You might have to experiment a little with the type of cardboard you have to get the right thickness. I tried cardboard from boxes and it worked in one layer, but it tends to squish around the stand, becoming loose over time and the side profile is noticeably cardboard. Instead, I now use cardboard from the backing on pads of paper. I found that two pieces glued together formed the perfect thickness. If you find that your paper is peeling off too much, try getting a good strong paper glue, like Elmer’s X-treme Glue.

Step 6 – Cut them out: I cut out the pieces and they’re ready to be placed in the stands. I could cut the edges of the tombstone to make them look even better, but that’ll depend on whether I have the time or not.

Putting it into Practice

Back to the World War I game, Dead Horse Corner, I put together figures for the player characters and the NPCs. Here’s how it worked at the table:

IMG_20141004_140424

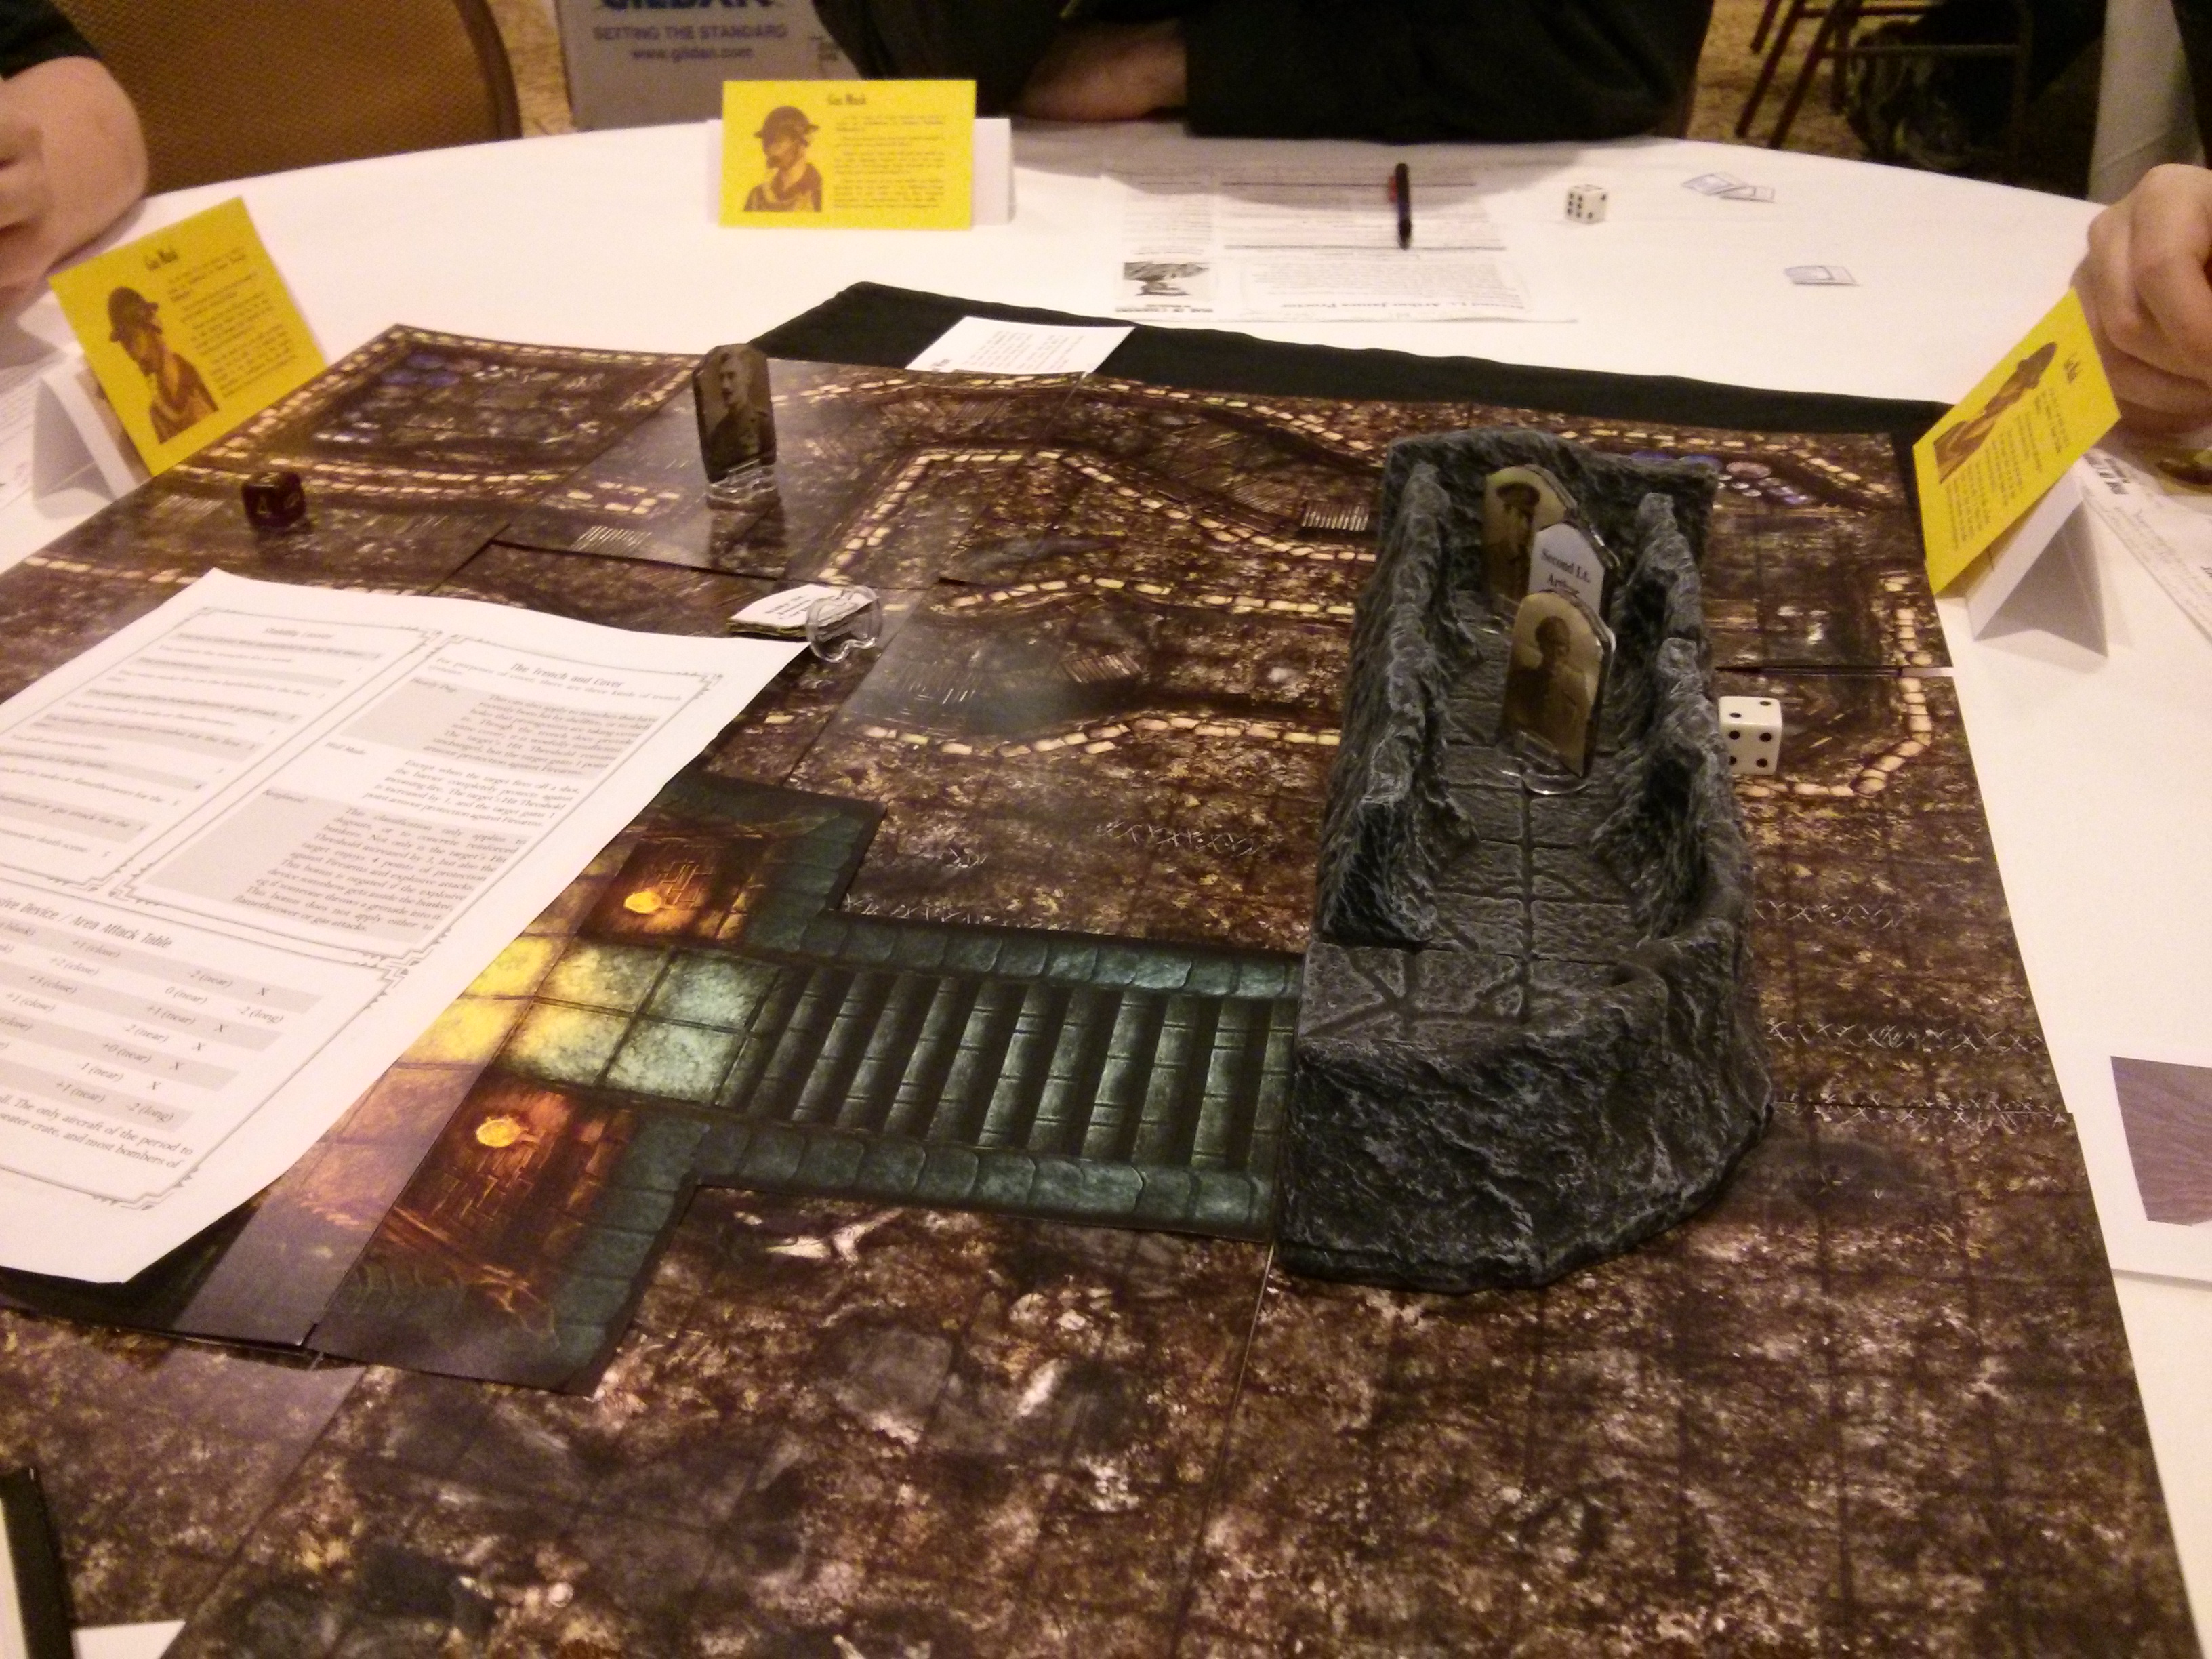
This first picture features a number of the PCs leaving their trenches to explore a tunnel that was being built deep into no man’s land (that uncovered an ancient temple of some kind – I altered the adventure a fair bit to add that in). You can see the figures have a picture of the character on the front and their name on the back. These were made using cardboard from boxes. I tried to conceal it by using black marker on the sides.

IMG_20141004_140734

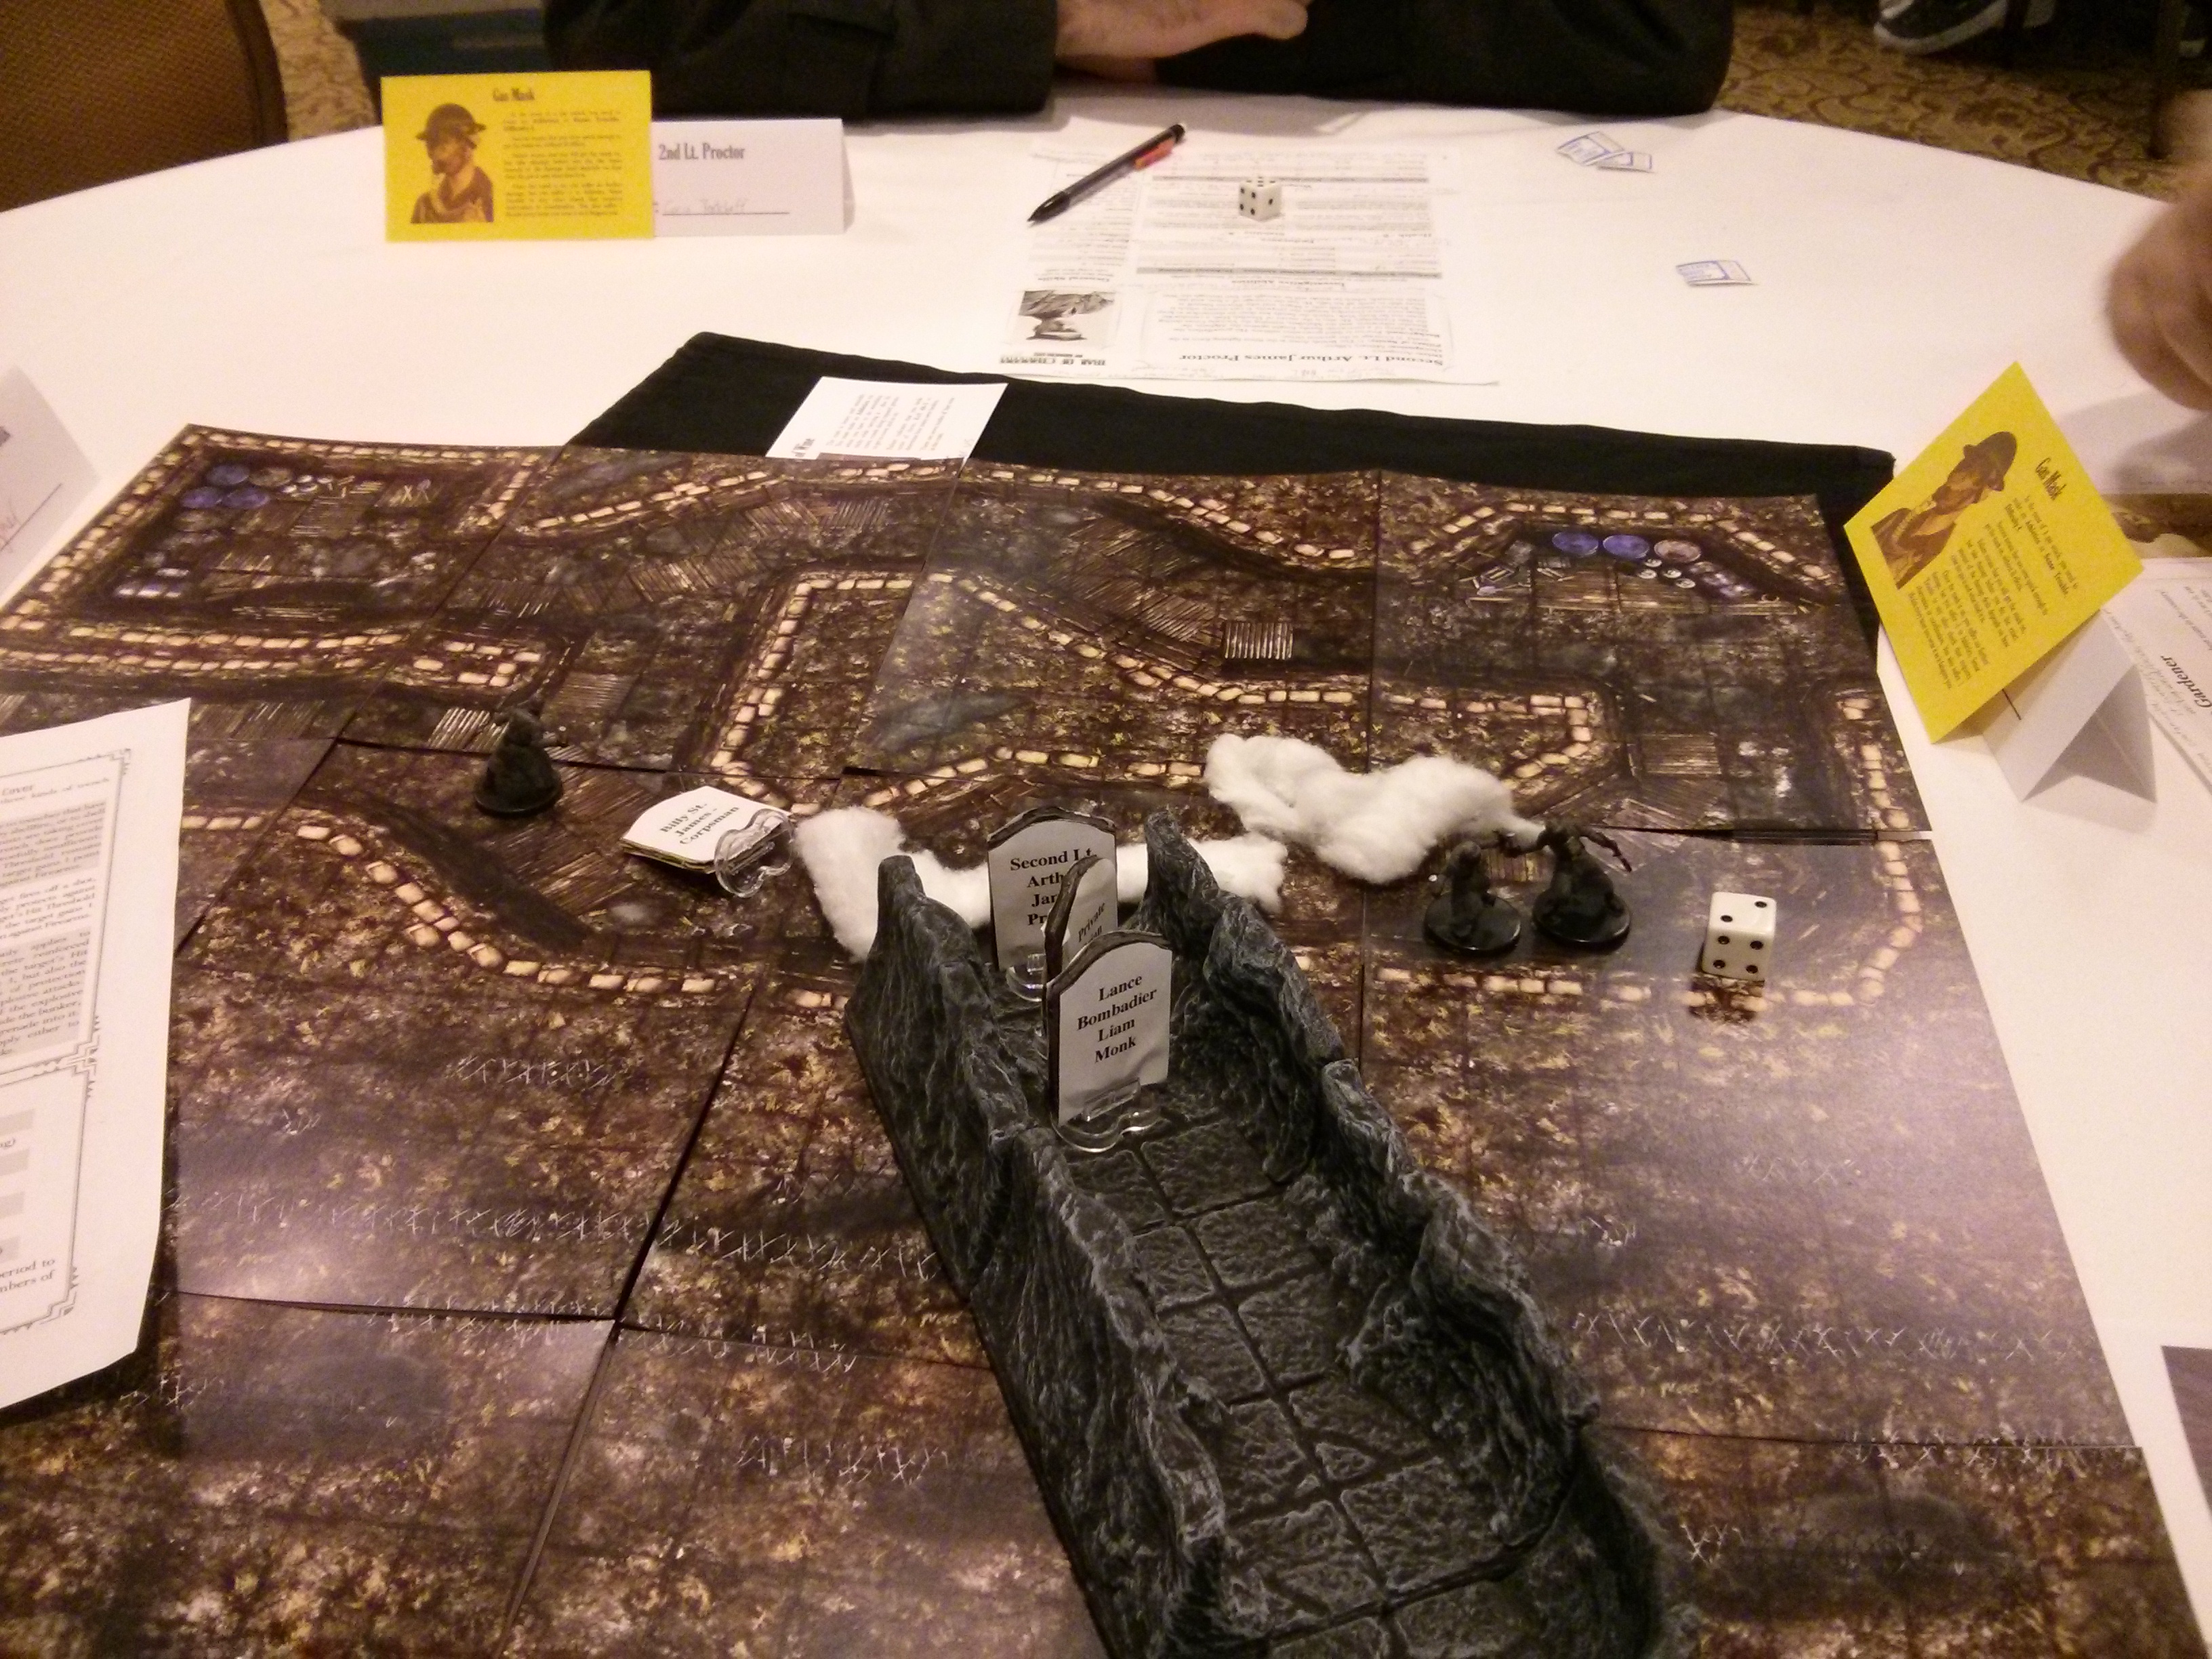
This one shows the PCs returning from the tunnel to find a gas attack (cotton balls) and German troops investigating the trench in gas masks. This shows how they look with miniatures. Unfortunately, the picture caught them from the back, but they work fairly well together.

IMG_20141004_144016

Finally, we have the heroes confronting a monstrous terror (actually a dollar store dragon) in the big finale scene. This one shows best the front faces of the heroes’ figures. You can also see in the background the same image is on the character sheets and if they didn’t have their gas mask cards up, you would see the name cards all feature the same image as well. This creates a strong sense of identity for players with their characters that is only possible through making figure flats like this.

GET THIS NOW… E-Z Dungeons (pay what you want)

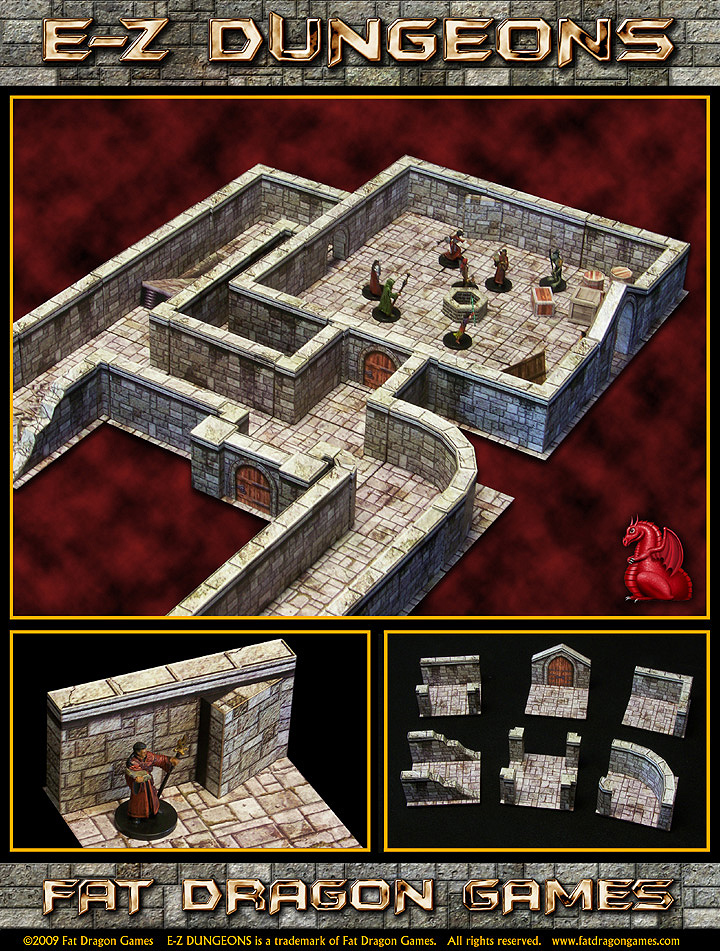
I am all about making the game more fun, and Fat Dragon Games / E-Z Dungeons do just that. I have been a fan of these products for years, and will probably always continue to be. Their printable terrain is just awesome!

I am all about making the game more fun, and Fat Dragon Games / E-Z Dungeons do just that.  I have been a fan of these products for years, and will probably always continue to be. Their printable terrain is just awesome!

Get the award-winning E-Z DUNGEONS: Deluxe Edition for YOUR price!
2-days only, pay what you want, and walk away with this terrain kit:

E-Z Dungeons

Check it out!

Disclaimer: Follow the link for this product, shop normally, and Stuffer Shack earns a small percentage (at no cost to you). In addition, we don’t normally post about products, but when we do, we strongly believe in them.

The best 3D Terrain is back for the weekend at 50% off!

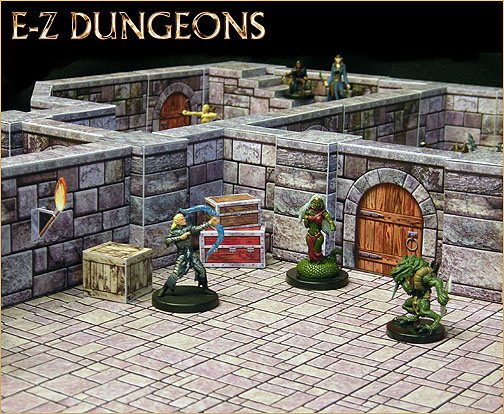
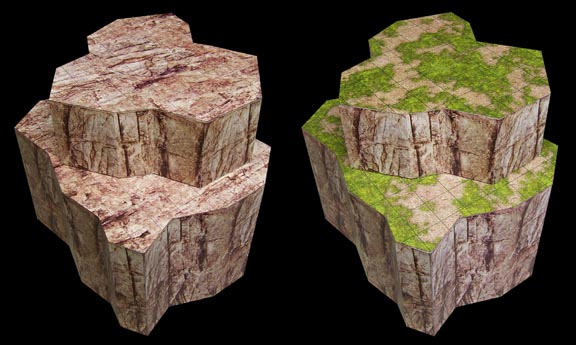
E-Z DungeonsSo a while back I posted about a castle I put together using Fat Dragon downloadable terrain (and I think we can all agree that I love 3D terrain).  Imagine my elation when I got an email saying that Fat Dragon was bringing back some of their retired terrain!  I have several of their products (including most of their Expansion Sets and several of their awesome Dragonshire Village structures – actually, the Guard Post and Armory would be my favorite), but I was never able to get their Cliffs and Mountains.  Well, you can bet I’ll be getting Cliffs and Mountains here after I’m done writing this…

Cliffs and Mountains1

Cliffs and Mountains2

Cliffs and Mountains3

Cliffs and Mountains4

Downloadable terrain is pretty darn awesome.  Once you have the file, you keep it forever.  that means that you can make as much of the terrain as you want.  I once made a HUGE castle front for a mass battle, and a large underground dungeon for an epic crawl (two of my most fun and liked adventures).  They come with tips and pointers on putting them together – all that’s required is a printer, some glue, and scissors!

Aren’t these just the coolest?  Each one is priced at $6.49, which is 50% of their old regular price.  After this weekend (Sunday, August 11), they won’t be available anymore (yeah right!  Id bet they’ll be back again for a short time next year…).  Of course, as an affiliate, Stuffer Shack will make a small commission on any of these sales, so thank you!  (Commissions go directly into our Contest Prize Fund, which basically gets handed right back out to our readers!)

Take a look at each of these products.  I don’t recommend anything unless I wholeheartedly love them, and I love these…

Cliffs and Mountains

Basic Set

Base Set

The Coolest Fat Dragon Games Terrain…

Two years ago, I posted about some really cool downloadable terrain from Fat Dragon. Well, they just made it better!

Two years ago, I posted about some really cool downloadable terrain from Fat Dragon.  Well, they just made it better!  Now, a lot of their pieces can be folded flat for easy storage!

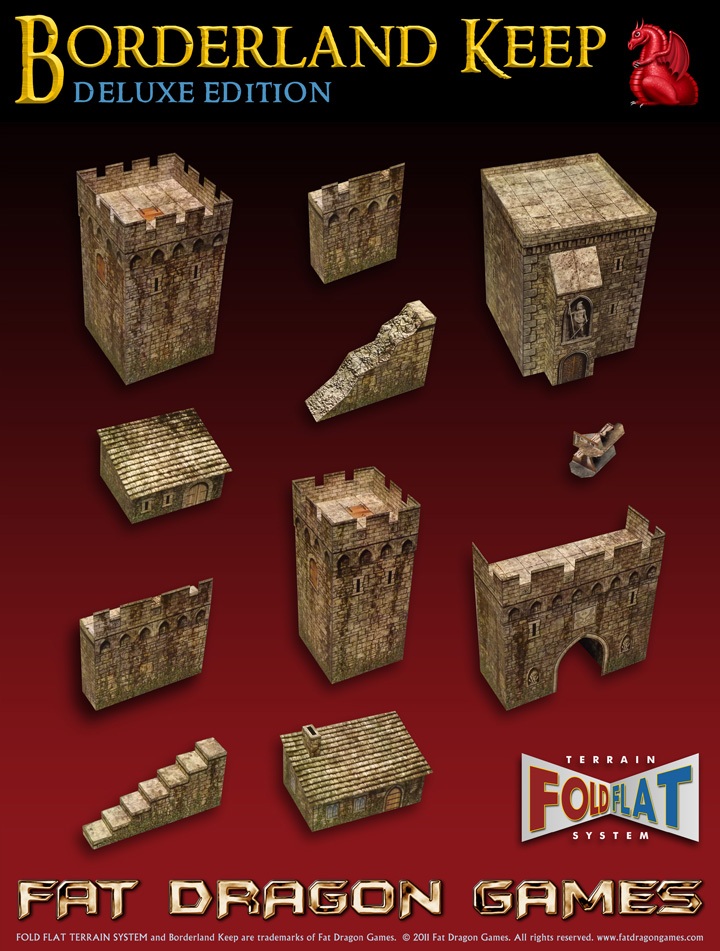
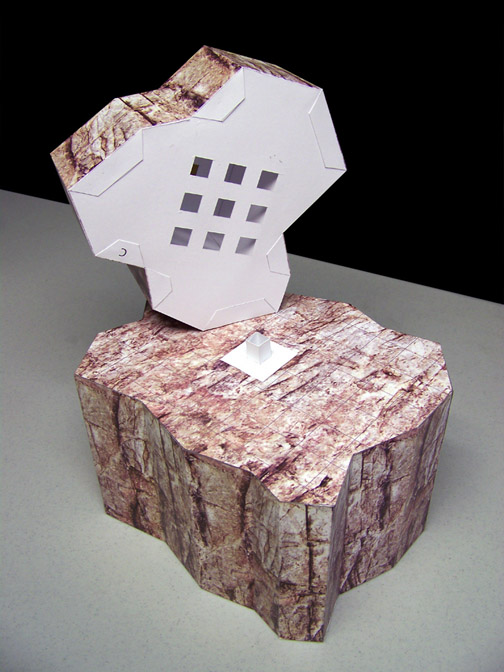
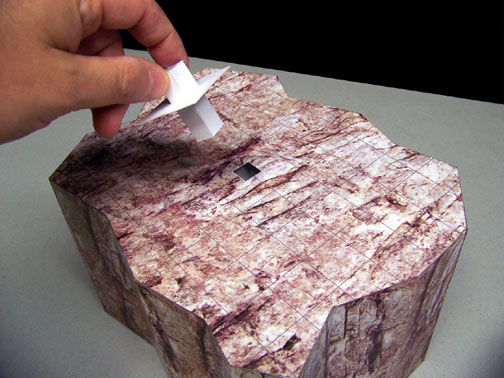
I used this terrain to great effect, and I plan on using it again in my next campaign.  There will be Forts, Keeps, and Castles, and I just can’t wait!  I’m especially looking forward to how well the pieces fold flat.  I bought this a few years ago, but now that they offer a fold-flat version, I’ll be getting it shortly (it’s still really cheap, I think $12.99).  I’m posting this now because Fat Dragon is offering a bonus Dice Tower if you order in the next two days.  I like Dice Towers, but I already have one.  Click to read more about it…

DIY Modular High Ground Terrain Pieces

Benoit (of Roving Band of Misfits) shows us a “how- to” video for some of his cool 3D terrain…

This is a guest post by Benoit from Roving Band of Misfits. You can check out all of their Arts & Crafts posts at their site.

When I DM for Gencon, I usually try to bring a little something extra to make the players’ experience at the con great. This generally includes minis that actually represent the monsters they’re fighting, and whatever dungeon accessories and terrain I can make beforehand. It’s never anything super elaborate, as I usually don’t have a lot of time between receiving the adventure module and leaving for the con.

This year, a few of the Ashes of Athas modules I ran included huge rocks that the PCs could stand on. So, I pulled out a piece of blue foam I had lying around, and made some modular high ground. It was so quick and easy that I decided to make a video tutorial for you guys to do at home. Check it out: Continue reading “DIY Modular High Ground Terrain Pieces”

“I push him over the ledge!” …3D Terrain!

How many times have you been sitting at the table of a role-playing game and thought, “Hey, this is actually pretty freaking cool. I haven’t had this much fun in quite a while”?  It happens from time to time, and hopefully more often than not.
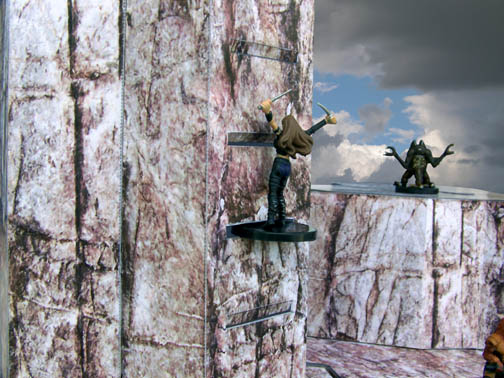
I remember the first time that happened with Dungeons & Dragons 4E.  I built “The Shrine” quite hastily (pictured right) just before our weekly game, and the players had to fight their way up the three open levels to get to the boss at the top.  It had stairs, beams, ledges, and tons of undead.  It was great!  The rules for 4E made it quite clear who could move from here to there, who could see who, and which player characters could be targeted by zombie-slinging-guts from the upper levels.  It was awesome.  No more arguing over the rules, or that pesky player vs. GM perception.

The pinnacle apex of that gaming “Yay!” moment came when a player wanted to knock an undead over the top ledge.  The rules were right there in the book about knocking someone over the ledge, and the player actually tipping the undead miniature over the ledge was pure gold.  That’s when I realized how much fun I was having with D&D 4e, and was finally thankful for the hard work of its developers.

I’m reminded of this gaming session after having read a post over at Blood, Sweat, and Dice.  It reminded me of one of the reasons that I play role-playing games.  Sure, I play because I get to be entertained by a story, I get to be the hero (or the bad guy), I get to smash crap with my hammer, I get to immerse myself in a fantasy world, I get to unleash creative energy, and I get to hang out with great friends, but really, I game for the simple joy of gaming.  It’s those little “ah-ha!” moments, those “yay!” times when it all makes sense, and I don’t care what game it is or time of night (morning?).

I don’t have anything more to say here… not my usual wisened advice, correct opinions, or professional lessons – just this: thanks to all those “yay!” moments when it all came together, thanks to all those writers and developers for creating the games through which to experience those “yay!” moments, and thanks to D&D 4E in particular.  I don’t know if I’ll ever play you again, but you’ll always be (at the least) a fond memory.

Side note: (1) The “Shrine” encounter was stolen from John Lewis (who, I’m sure, ran it better than I did), and (2) I was not being sarcastic in the last paragraph about having “wisened advice, correct opinions, or professional lessons.”  Nope.  Not at all.

For more images and articles on 3D Terrain, click here!

Last Chance to get your E-Z Terrain: Cliffs and Mountains!

Where Tourq Stevens shows you some 3D Terrain from his favorite terrain company. This particular download is going away in a couple of days, and its price has been slashed by 50%!

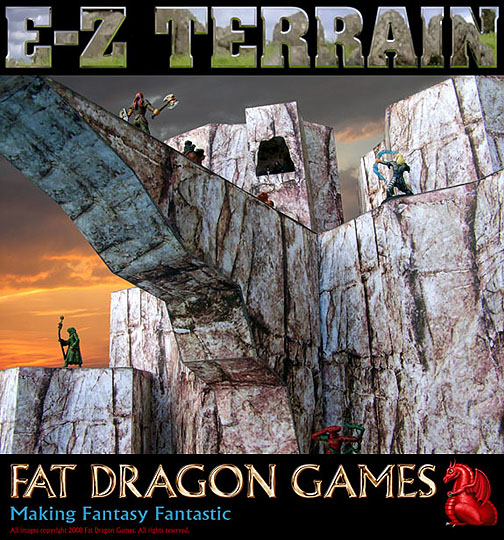
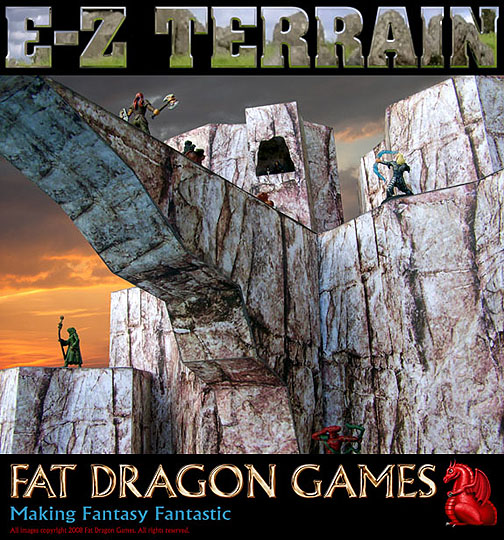
I don’t usually actively promote products (well, sometimes), but when I got the word that E-Z Terrain: Cliffs and Mountains was going to be discontinued, I had to gobble it up.  This is one that I’ve wanted to pick up for awhile, but just never did.  Well, I did, just now. What a fantastic set!  And it looks pretty easy to put together, too.  I’ve always been a fan of Fat Dragon Games Terrain, and I’m sad I didn’t pick this download up earlier. As I understand it, this particular download will be discontinued at the end of the weekend.  No worries!  That leaves almost three whole days to pick it up.  Also, the cool part is that the price has been slashed by 50%, now priced at $5.99.  I always get these downloads when the prices are so cheap.  How can you not?

Real quick, if you purchase E-Z Terrain: Cliffs and Mountains from this link, you’ll be supporting Stuffer Shack (which we appreciate).  If you visit our site from time to time, you’ll know I’m not putting this post up  to make a couple of bucks; I do it because we are 3D Terrain fanatics! So, check out the pics, and get your download before it’s too late!

  • Highly detailed rock and river tiles
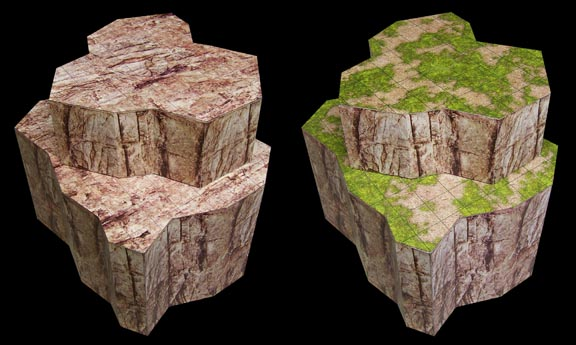
  • Ten types of stackable cliff models
  • Rock bridge (variable length)
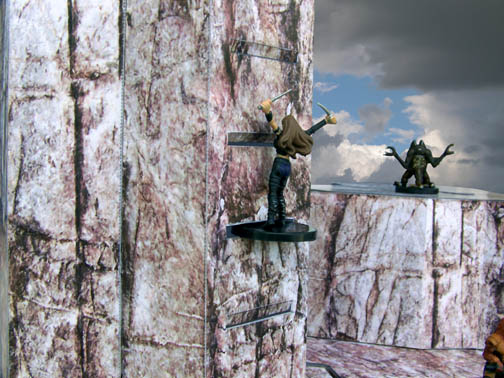
  • ‘Hot-swappable’ climbing walls
  • ‘Hot-swappable’ cliff ledges
  • ‘Hot-swappable’ cave openings
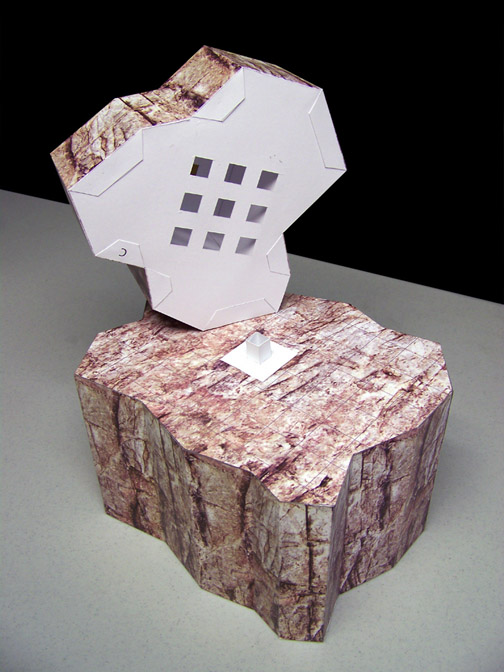
  • Exclusive E-Z KEY modular design
  • Both 1″ gridded and non-grid surfaces
  • ‘Hot-swappable’ cliff tops (grass or rock surfaces)

RPG Cartography – A touch of 3D

So… the Shack has been online for about a year, but this is our first time participating in the RPG Carnival – mostly because we’re slow, but partly because the topic of RPG Cartography really got our attention.  So, we just had to contribute.  Oh yeah, the Carnival’s host for this topic is also our Site of the Month! Make sure you stop by A Character for Every Game, and check them out.

RPG Cartography – A touch of 3D

For me, one of the biggest reasons I game is that I’m a creative person, and gaming is a great creative outlet.  There are several creative processes that make up role-playing games:

  • Creating a character
  • Playing a role
  • Writing an adventure
  • Telling a story
  • RPG art
  • Desiging encounters
  • Desiging worlds
  • And designing maps
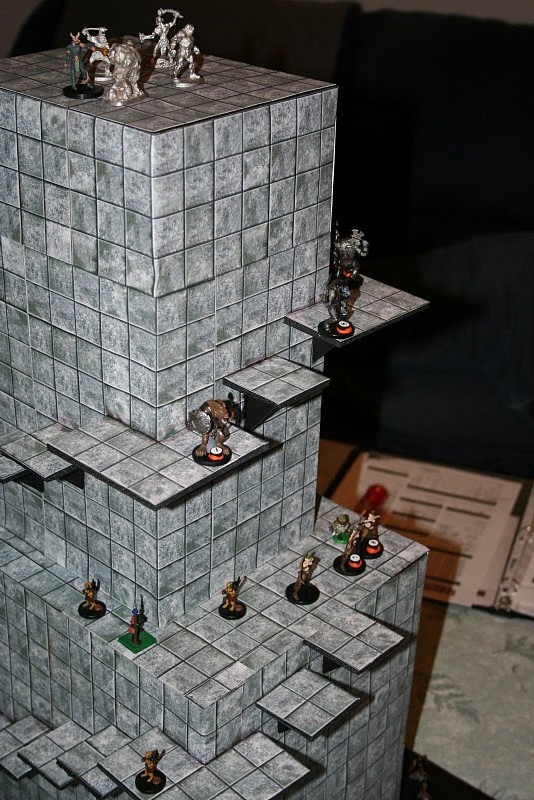
Tower of Power

I enjoy all of that, but there one’s part that I really love: desiging and building maps.

I’ve drawn maps for dungeons, castles, houses, superhero bases, lairs, towns, villages, continents, spaceships, and even galaxies.  I even drew up a entire world map on a 6 x 10 foot canvas (that took a while).   However, I didn’t really start enjoying it until I started running D&D 4e.  This game’s set-up for combat encounters just begs for the dynamic map.

I started out small, with a simple 3D warehouse loft, and my players thought it was the coolest thing.  From there, I just went crazy, proceeding to make all kinds of 3D maps.  The most time I’ve spent on one of these 3D maps was 20 hours.  I don’t know if that makes me dedicated, or addicted, but I’ve simply enjoyed it all.  Nowadays I’m playing instead of running, and I’ve gotten to experience 3D maps made by the talented John Lewis (the pictures in this post are by the two of us).

It’s a whole new level of fun.

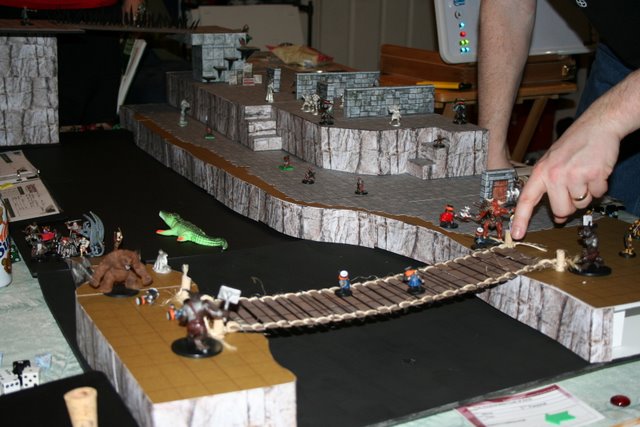
Horned Hold

I started making 3D battle maps right about the time that I started to come down off my high from D&D 4E.  These maps certainly prolonged my enjoyment of that game for quite a while, and we’re looking for ways to bring these maps into other games.  We’ve primarily used 3D battle maps for tactical combat games (like D&D 4E and Star Wars Saga), but there’s no reason they can’t be done for more abstract games (like FATE).

When you pull out your map for your players, they are generally looking at it as an area where they fight the bad guys (what are the boundaries, and where are the enemies?).  However, when you pull out a 3D battle map, your players instantly lean forward in their seats, start salivating, and then start checking out the cool terrain, and then start developing strategies for the encounter.  The game gets a little more  dynamic, a little more cool, and a whole lot more fun.

How do I get started?

There are several ways to integrate a 3D battle map into your game.  You can go the cheap route (using painted toilet paper rolls and shoeboxes), you can purchase professional 3D map materials (like Fat Dragon Games and Hirst Arts), or you get down to your local craft store (foamboard is a godsend).  I’ve taken all three roads, and they have all produced fantastic results (hey, the painted toilet paper rolls and shoebox made the best medusa crypt ever!).

I’ve heard a lot of people say that they could never put together a 3D battle map.  Well, it’s a lot easier than it looks.  All you have to do is start small.  Just add a few things here and there and you’ll pick it up pretty quickly.  Also, don’t think that you need some big set-up for it to be awesome – when it comes to 3D battle maps, a little goes a long way.

So, there’s not much else to say, other than just dooz it!

Be sure to check other blogs and their take on RPG Cartography!